Plaster Relief Sculpture
Project Description: Students will be creating a relief sculpture of a face form. Students will start with a mold of a basic human face and transform it into something more unique using plaster strips and other materials. Students will study human sculptures from art history, and other plaster sculpture artists for inspiration.

Where do you look for inspiration?
How do you know when you found something useful?
How can you make sure you do something completely original from what you researched?
How are you connecting your artwork to you, your life, or personality?
Things to think about when researching for ideas for your own work:
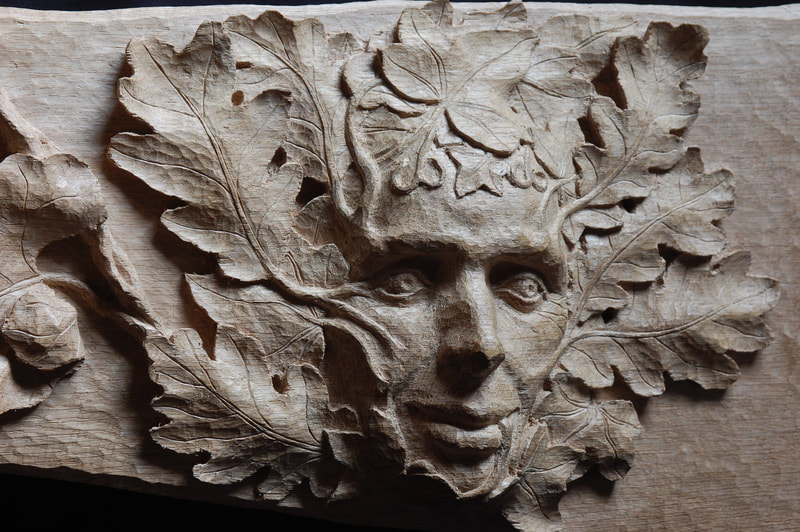
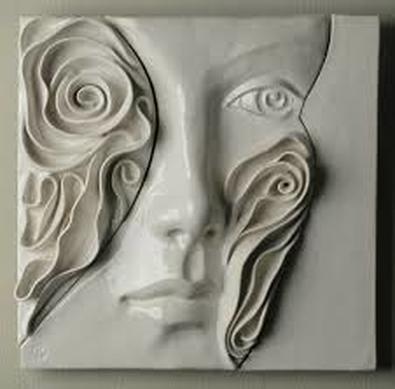
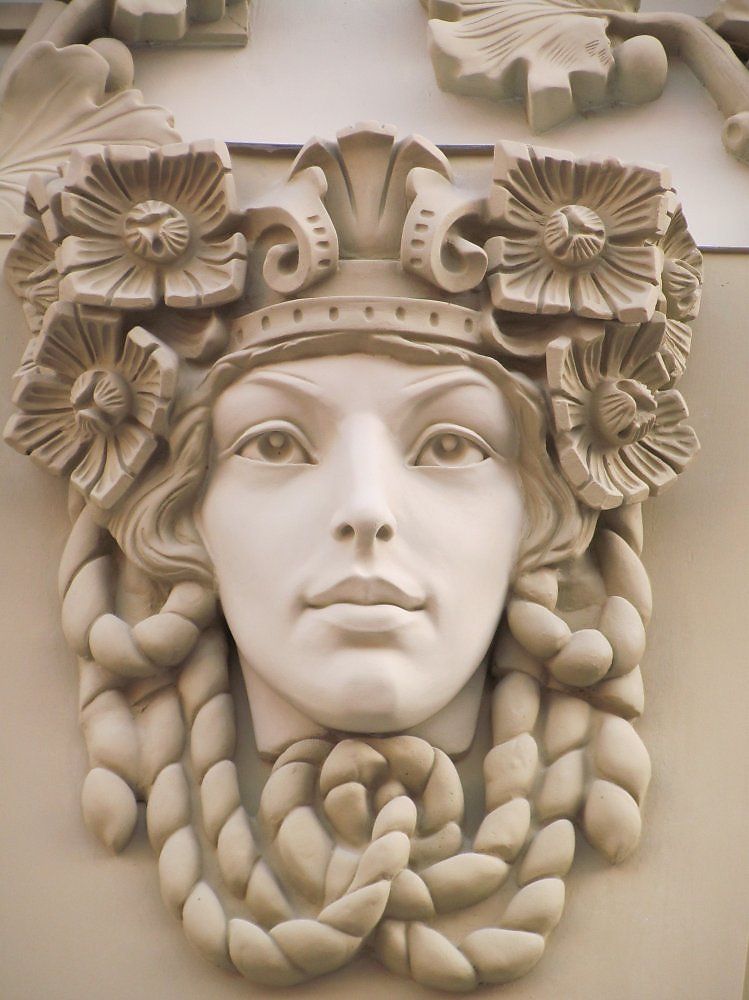
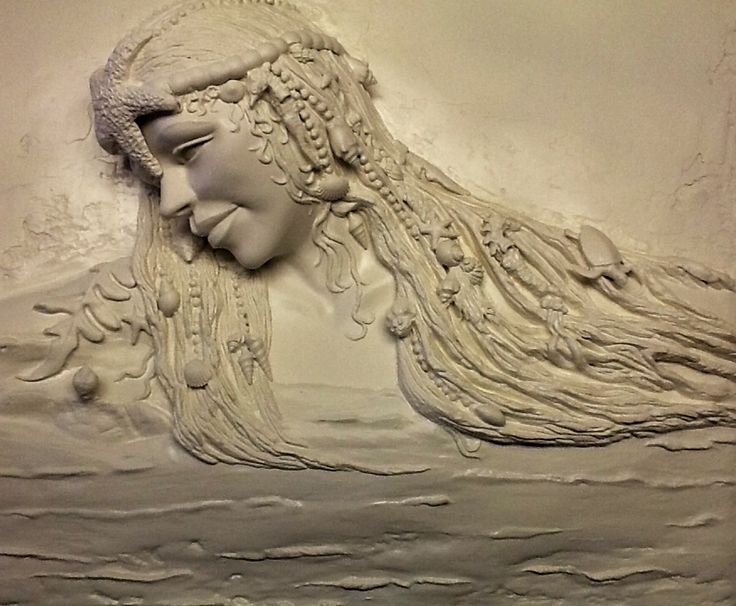
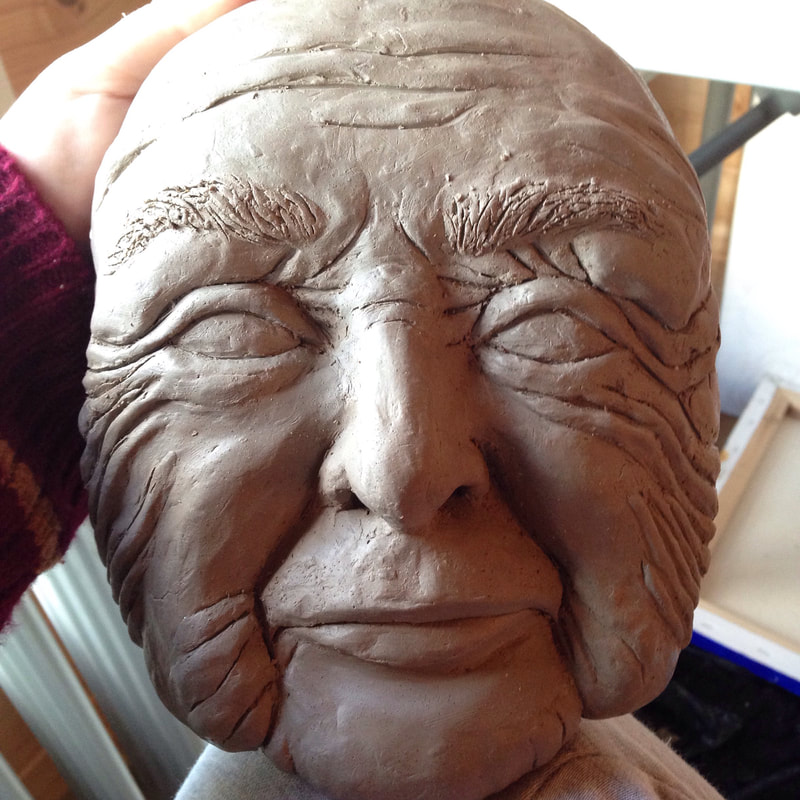
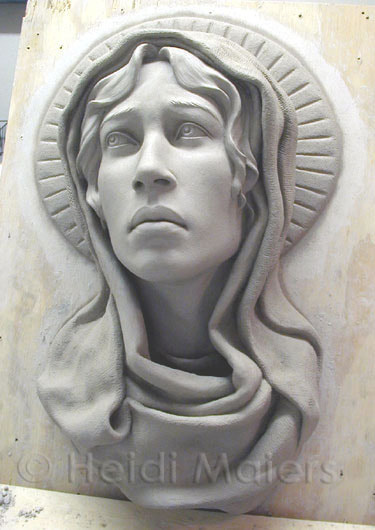
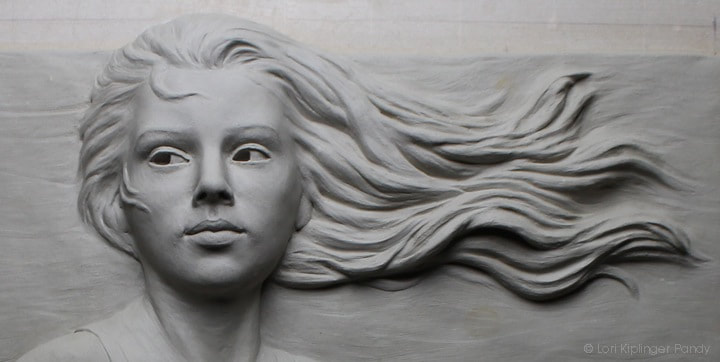
-artwork with similar subjects (human or human hybrid)
-artwork made from the same materials (plaster)
-historical/modern artwork and compare/contrast (see below)
-similar artwork done by students your age, similar artwork done by professional artists and compare/contrast
-different types of areas to search: Instagram, Pinterest, Art Museums, Magazines, Google, Facebook, Artsonia, Movies, Music Videos
How do you know when you found something useful?
How can you make sure you do something completely original from what you researched?
How are you connecting your artwork to you, your life, or personality?
Things to think about when researching for ideas for your own work:
-artwork with similar subjects (human or human hybrid)
-artwork made from the same materials (plaster)
-historical/modern artwork and compare/contrast (see below)
-similar artwork done by students your age, similar artwork done by professional artists and compare/contrast
-different types of areas to search: Instagram, Pinterest, Art Museums, Magazines, Google, Facebook, Artsonia, Movies, Music Videos
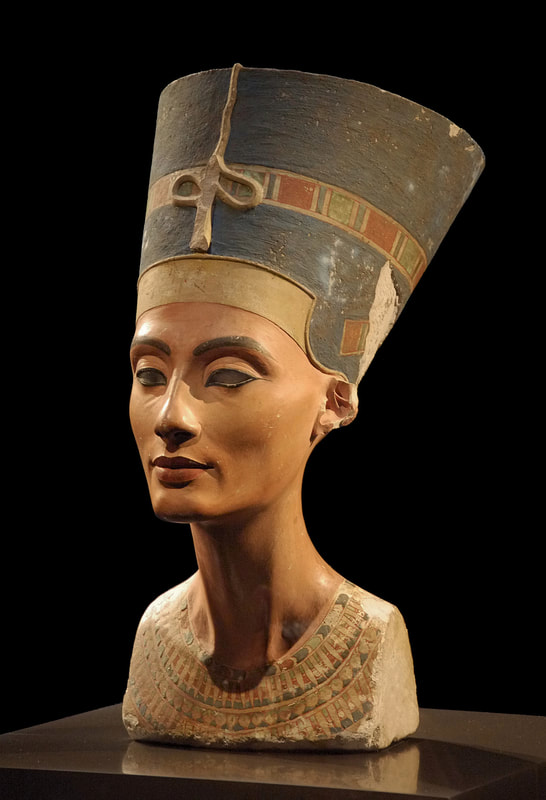
Inspiration from History:
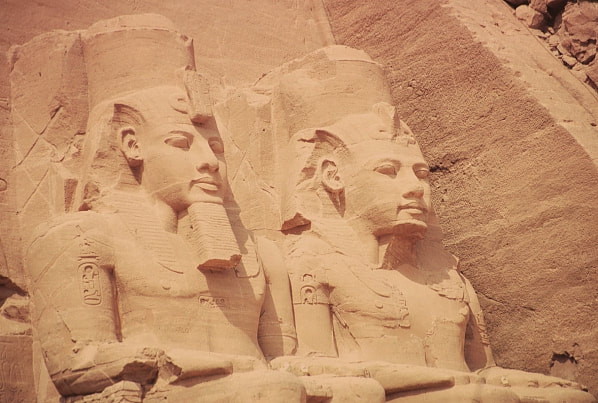
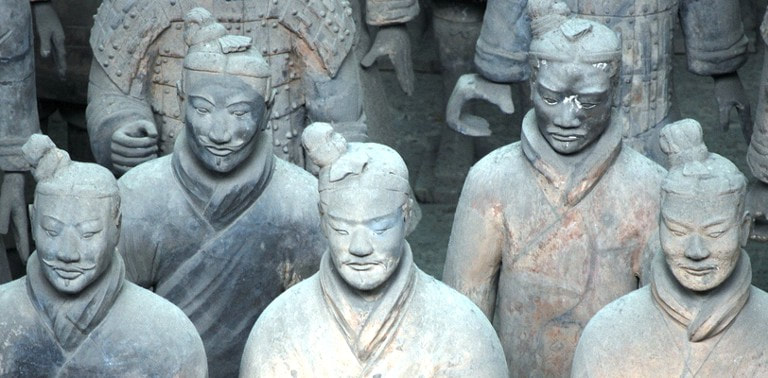
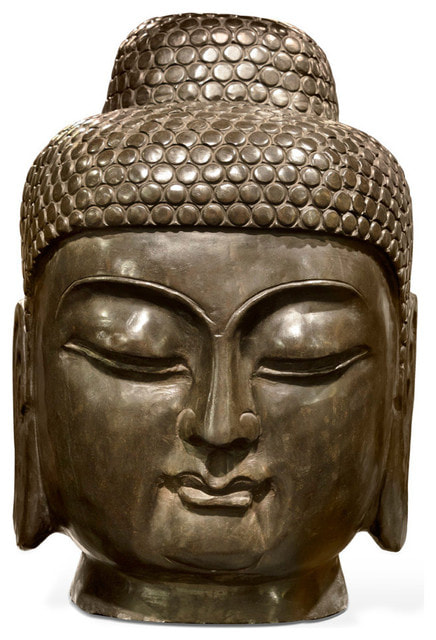
EGYPT

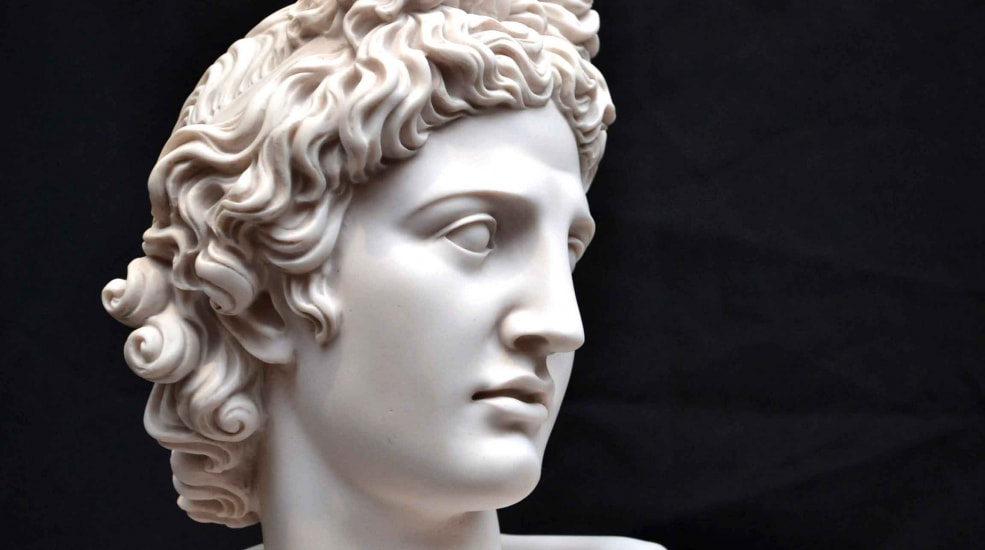
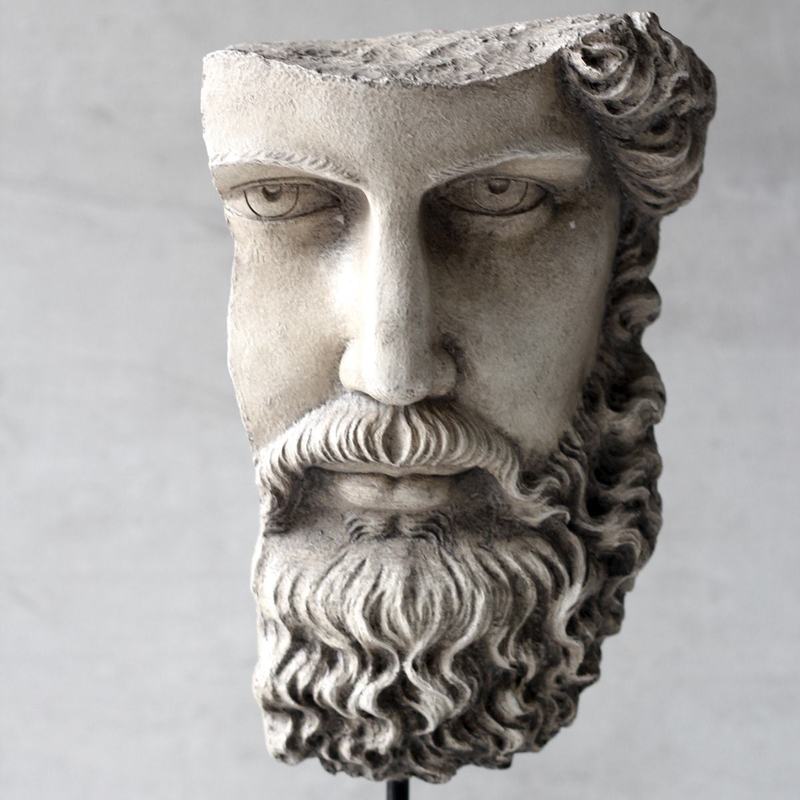
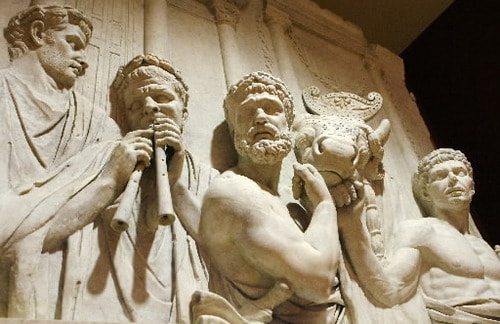
ROMAN/GREEK
ASIAN
Steps to make your sculpture:
1. Decide on a design. May be a good idea to create a sketch first.
2. Make a mold of a face using liquid plaster. Use the inside of the mask molds. Make an area where the mask can sit level. Mix the plaster and pour. Let set overnight.
(Mixing plaster: put water in a cup and slowly stir in powdered plaster. Continuously stir until you get a melted ice cream constancy. Try to break up any lumps.)
3. Pop out the mold and carve. You want to change the look of the face so it no longer resembles the mask and looks more like your design idea.
4. Glue your mold onto the wooden board.
5. Add other plaster and/or extra elements to create more relief forms and express your ideas.
6. Paint your relief sculpture.
GOALS (Objectives):
-Face mold created properly.
-Face is carved enough to no longer look like the original mold. Should look unique. (Carving is a subtraction method of sculpture)
-Face is properly glued onto the board. (Elmers white glue actually works better than hot glue)
-Plaster strips and other elements are added to give the relief sculpture a unique look.
-Sculpture is completely painted when complete.
